Build Your Own DIY Smokeless Fire Pit: Easy Step-by-Step Guide
A backyard fire pit instantly transforms outdoor space—perfect for cookouts, winter evenings, and relaxed gatherings. The problem with traditional fire pits is smoke. It irritates the eyes, sticks to clothes, and often forces people to move around the fire instead of enjoying it.
A DIY smokeless fire pit solves this problem. With proper airflow and secondary combustion, it delivers the warmth and flame you want—without constant smoke. This guide walks you through how to build a smokeless fire pit at home, using readily available materials and practical techniques.
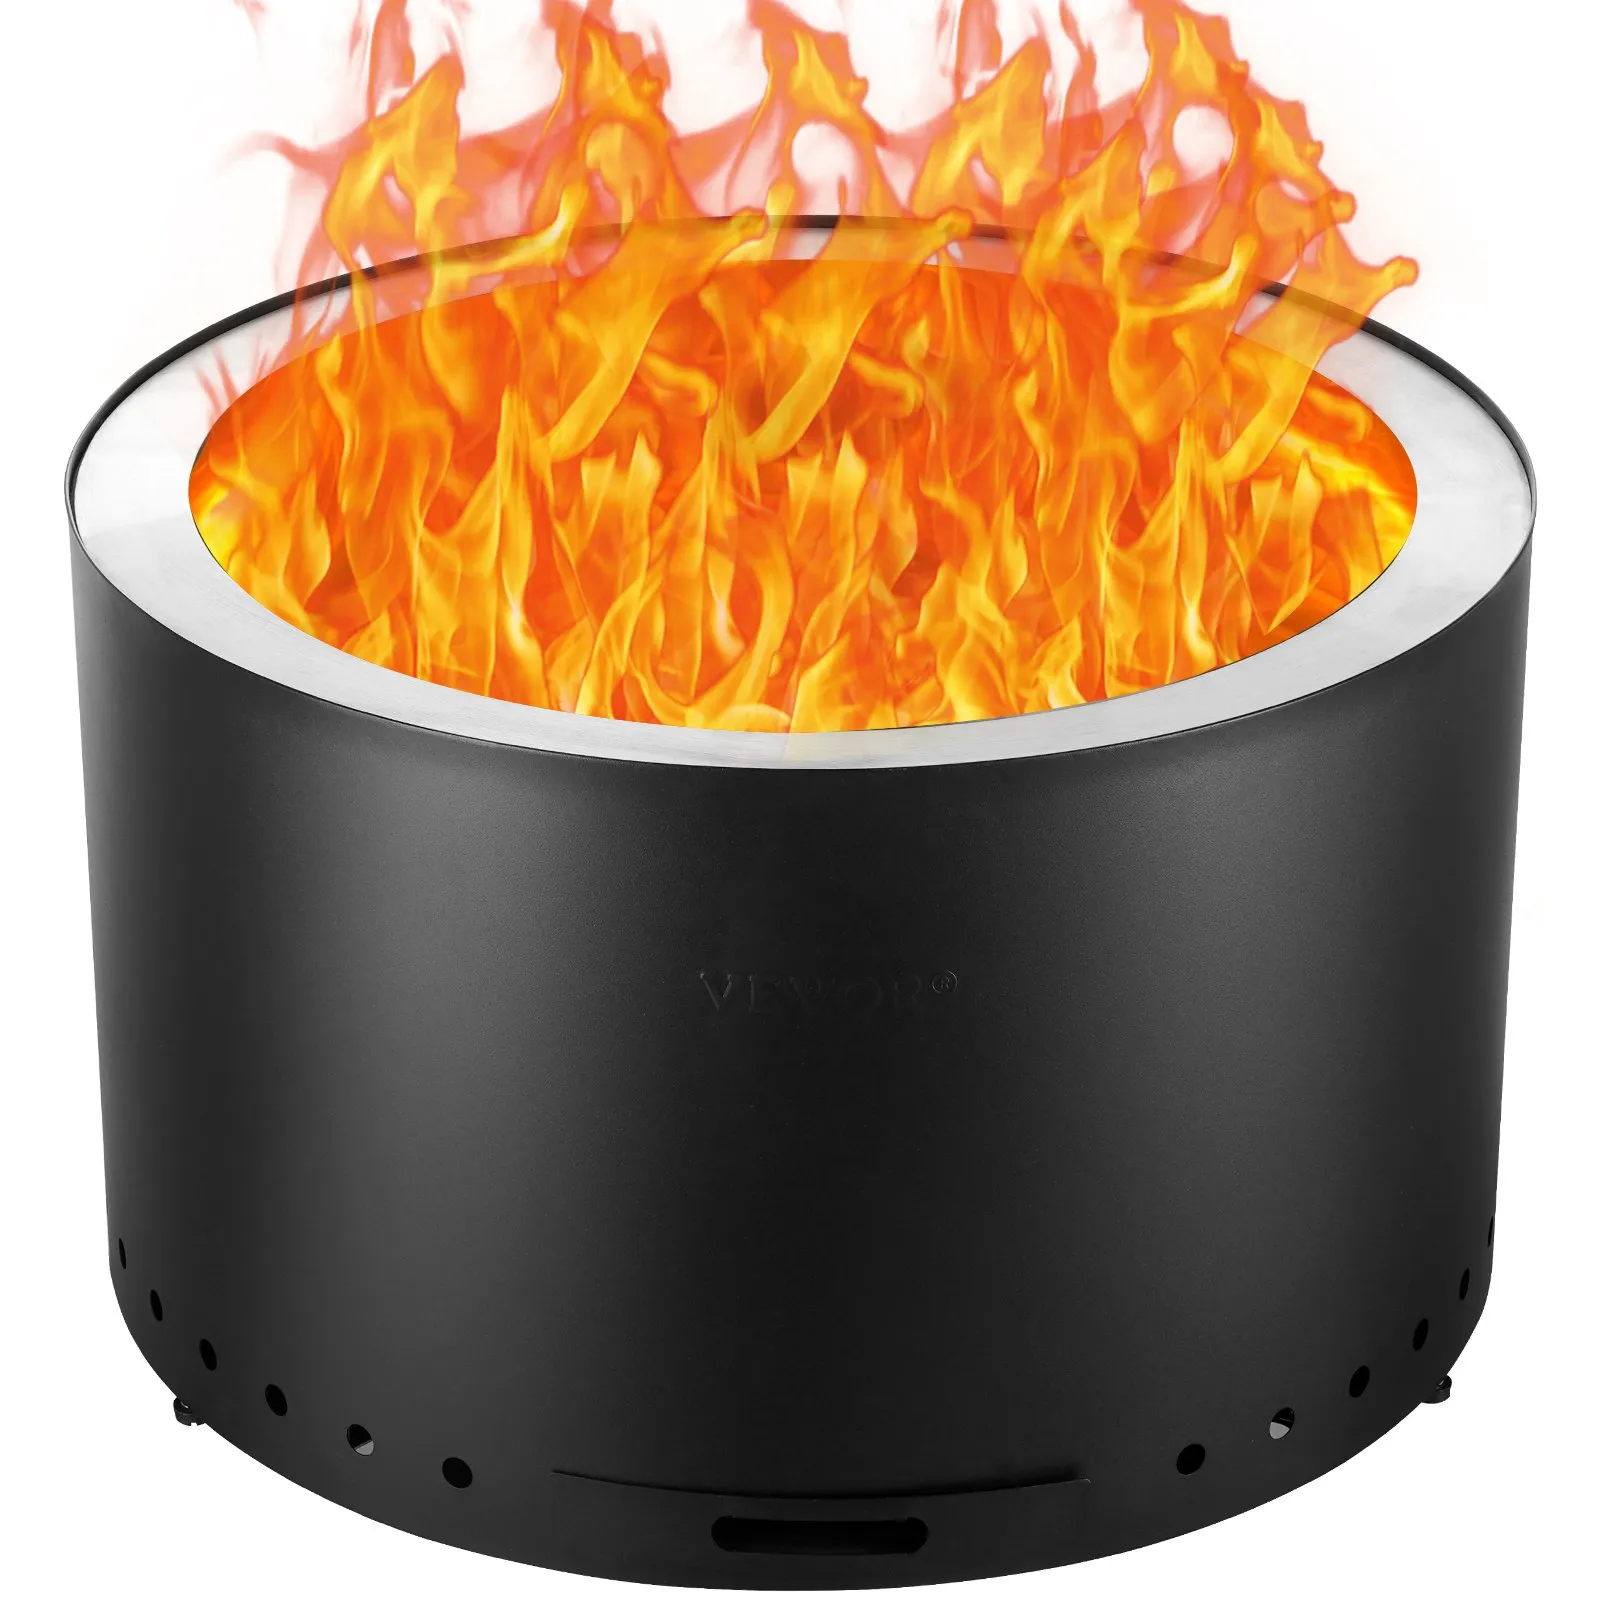
https://s.vevor.com/QTZBAZBUY NOW
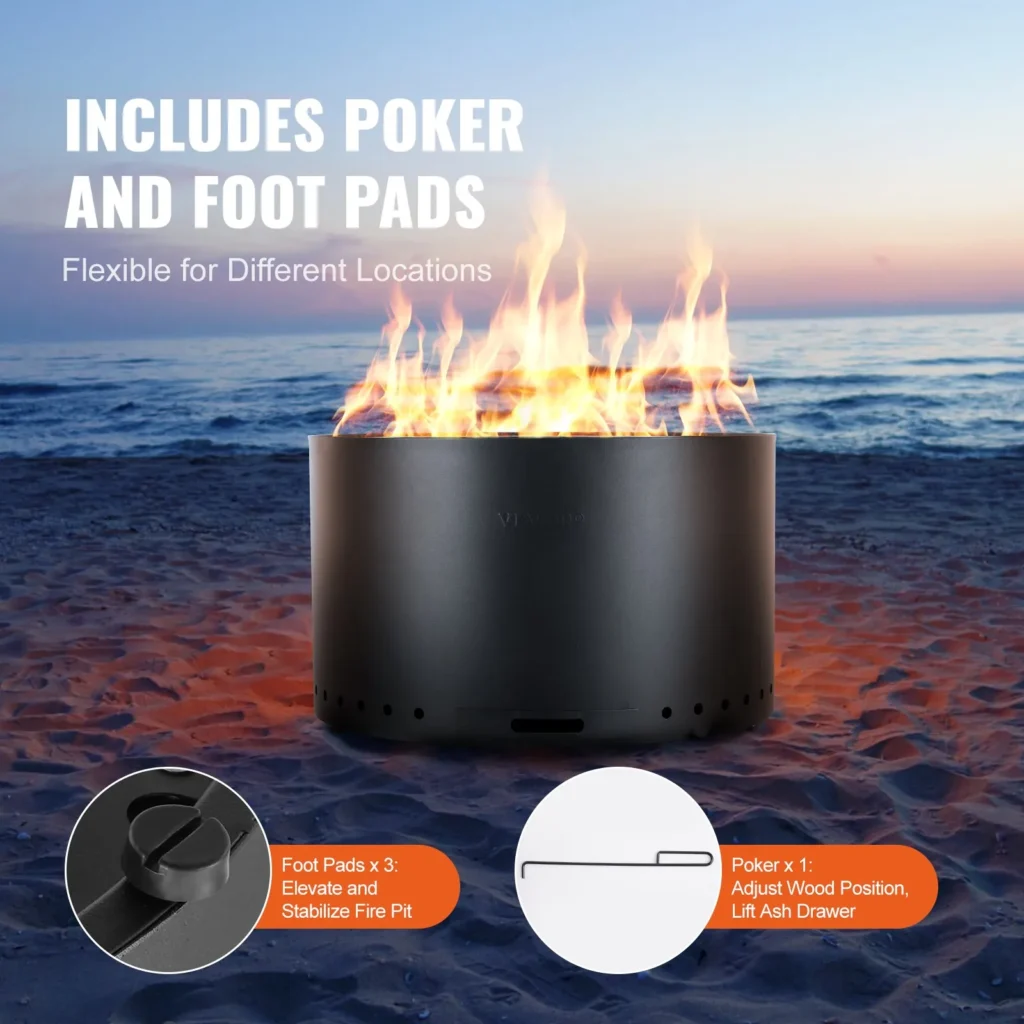
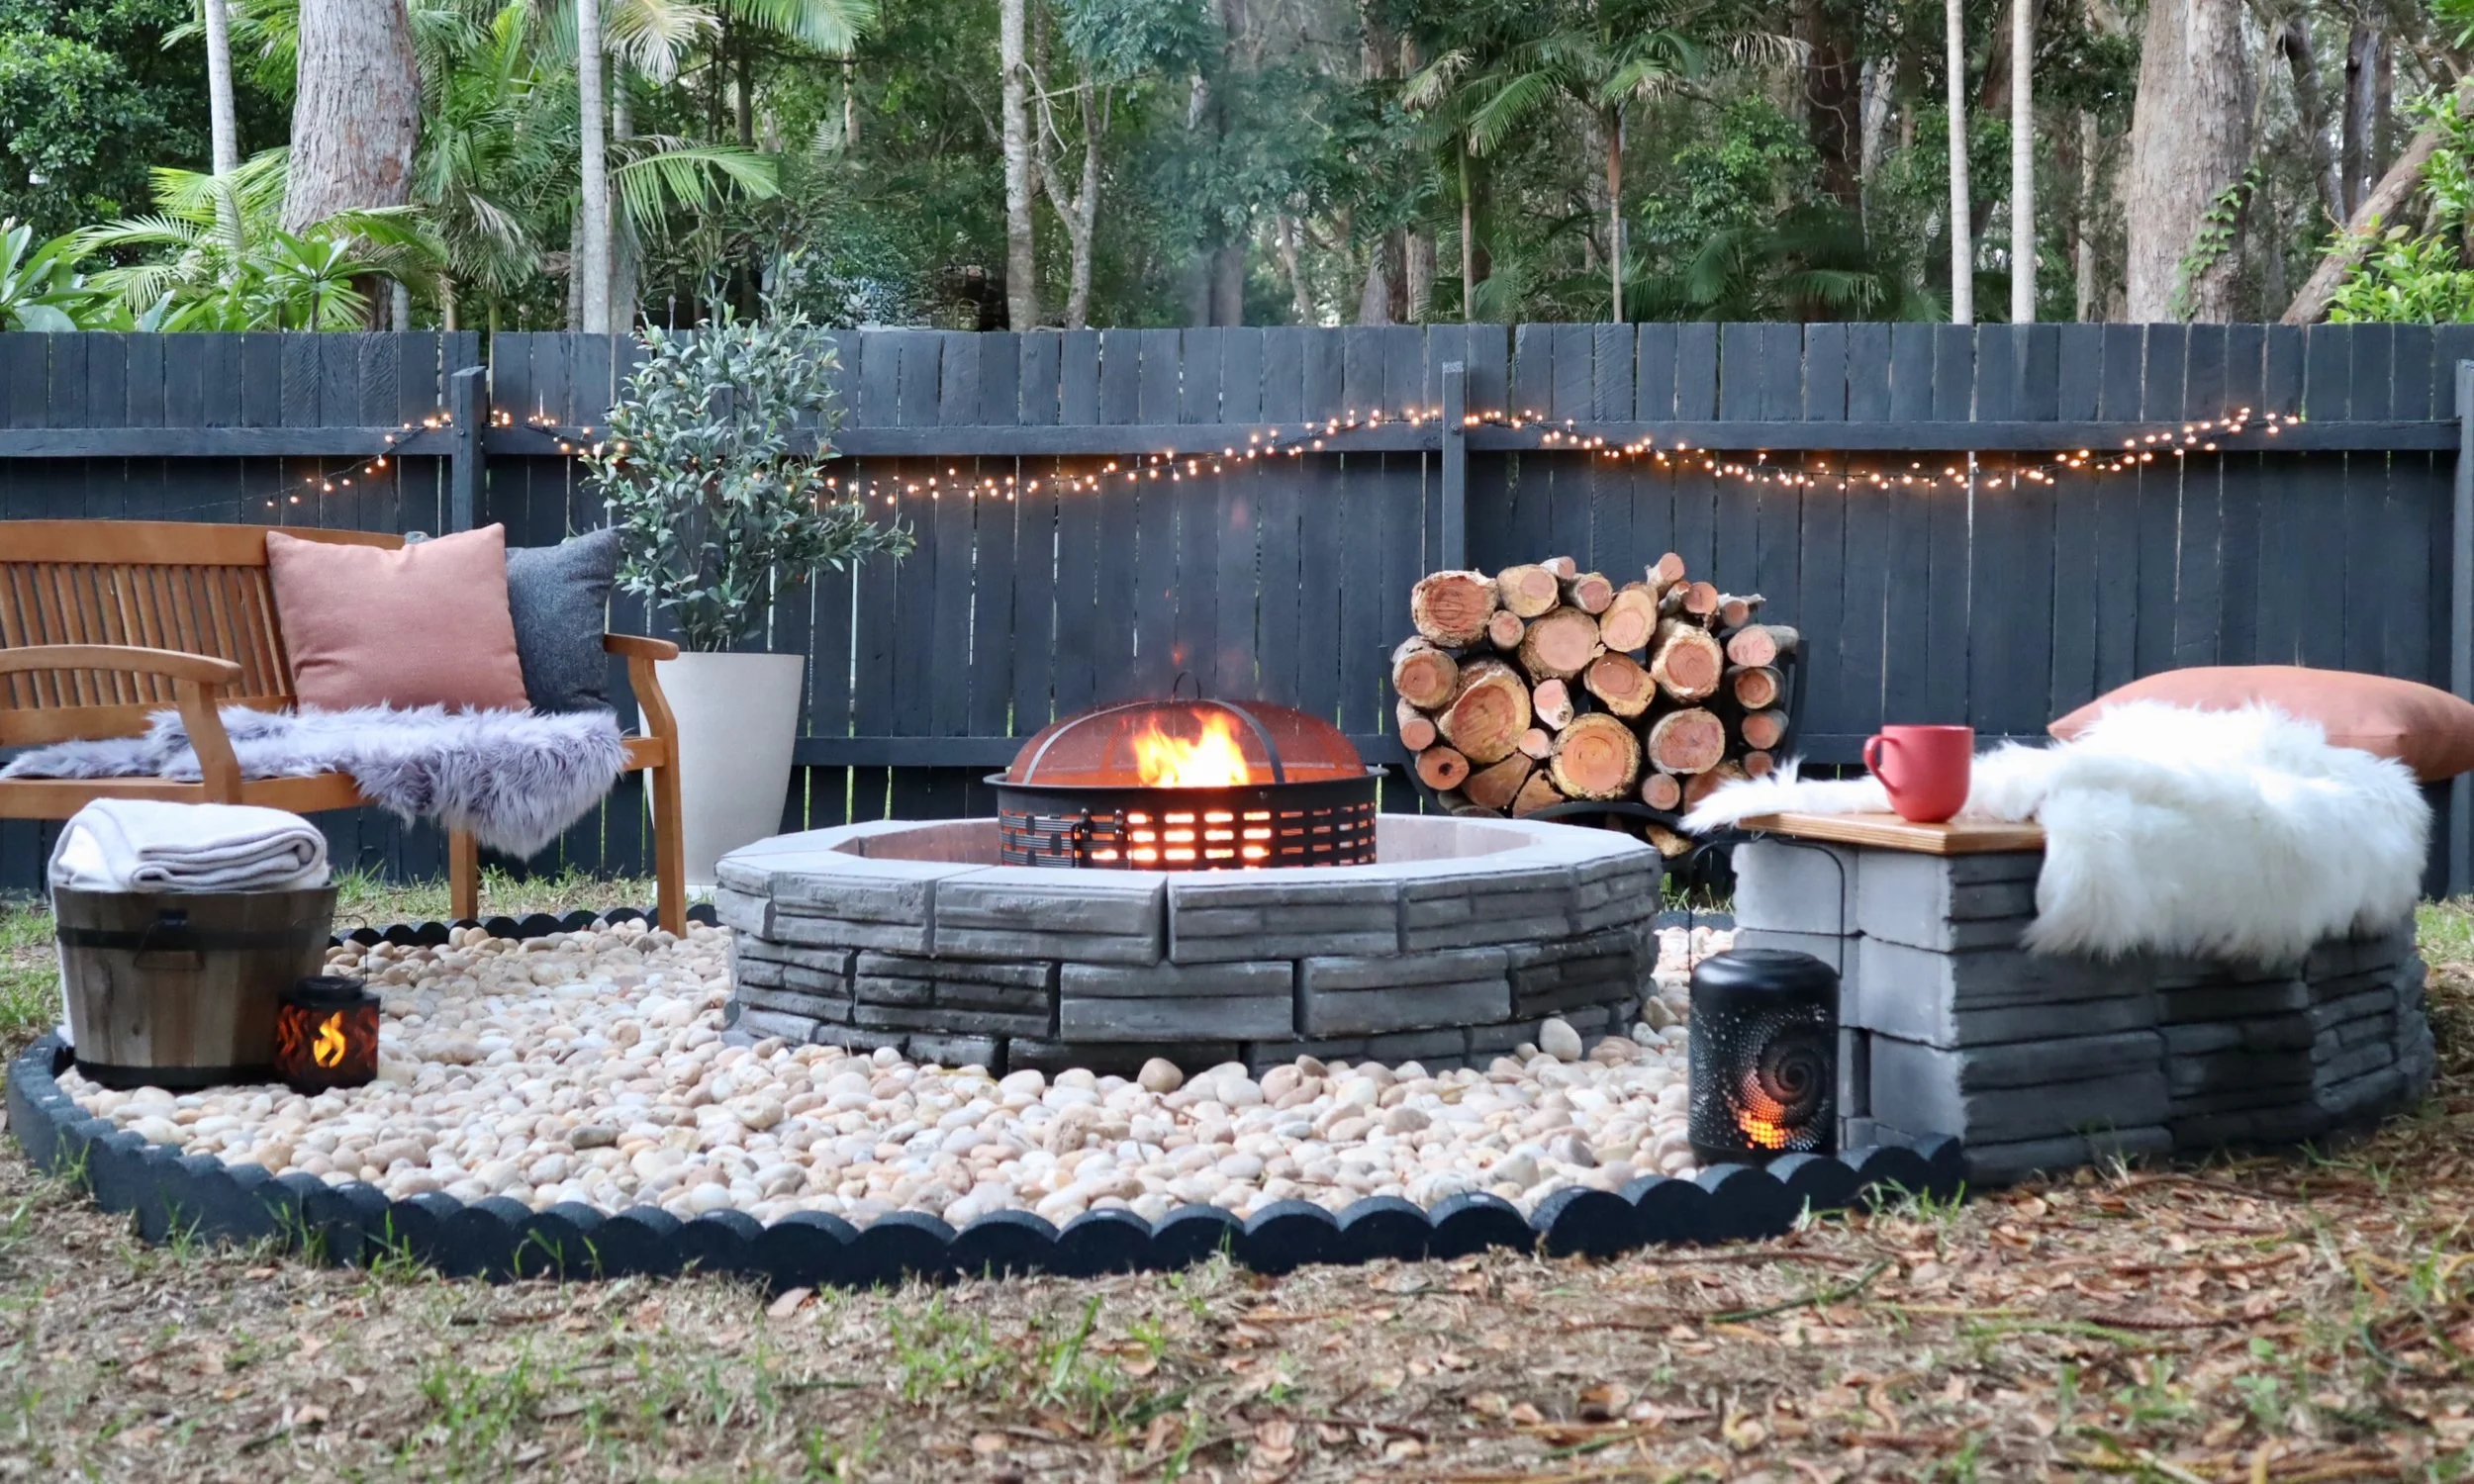
Smokeless Fire Pit Buy Option

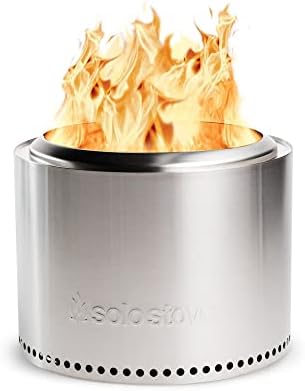


Project Overview
Difficulty Level: 7 / 10
Estimated Cost: $200 – $400
Build Time: 2–4 hours
This project is achievable for experienced DIYers and homeowners comfortable with basic tools.
Why Choose a Smokeless Fire Pit?
Smokeless fire pits are designed to burn wood more efficiently by re-burning smoke particles before they escape into the air.
Key Benefits
- Significantly reduced smoke
- More efficient wood burning
- Cleaner air for guests sensitive to smoke
- Less lingering odor on clothes
- Better heat output with less fuel
Instead of smoke drifting sideways, a smokeless fire pit pulls air from below and re-ignites smoke through secondary combustion.
Materials & Tools Required
Before starting, gather everything you need to avoid interruptions.


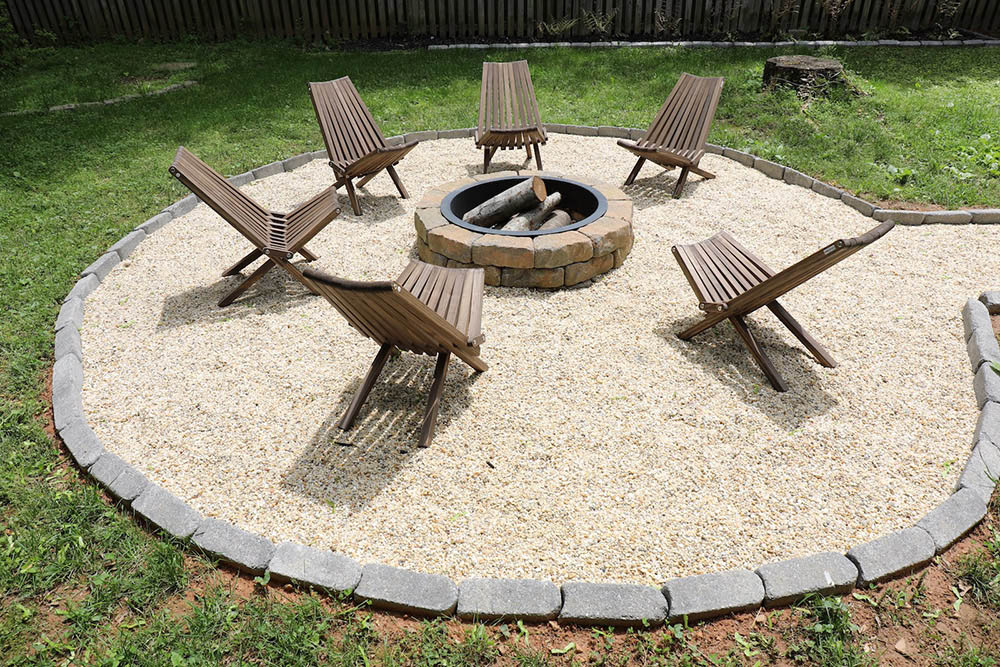
Core Materials
- Metal fire pit ring or steel insert
- Masonry pavers or fire-rated blocks
- Gravel or crushed stone
- High-heat spray paint
- Fire-resistant sealant (if required)
Tools
- Drill with metal drill bits
- Measuring tape and marker
- Level
- Shovel
- Safety gloves and glasses
How to Build a DIY Smokeless Fire Pit (Step-by-Step)
Step 1: Choose and Mark the Location
Select a flat, open area away from trees, structures, or slopes. Mark a circular outline for your pit (approximately 60 inches in diameter).
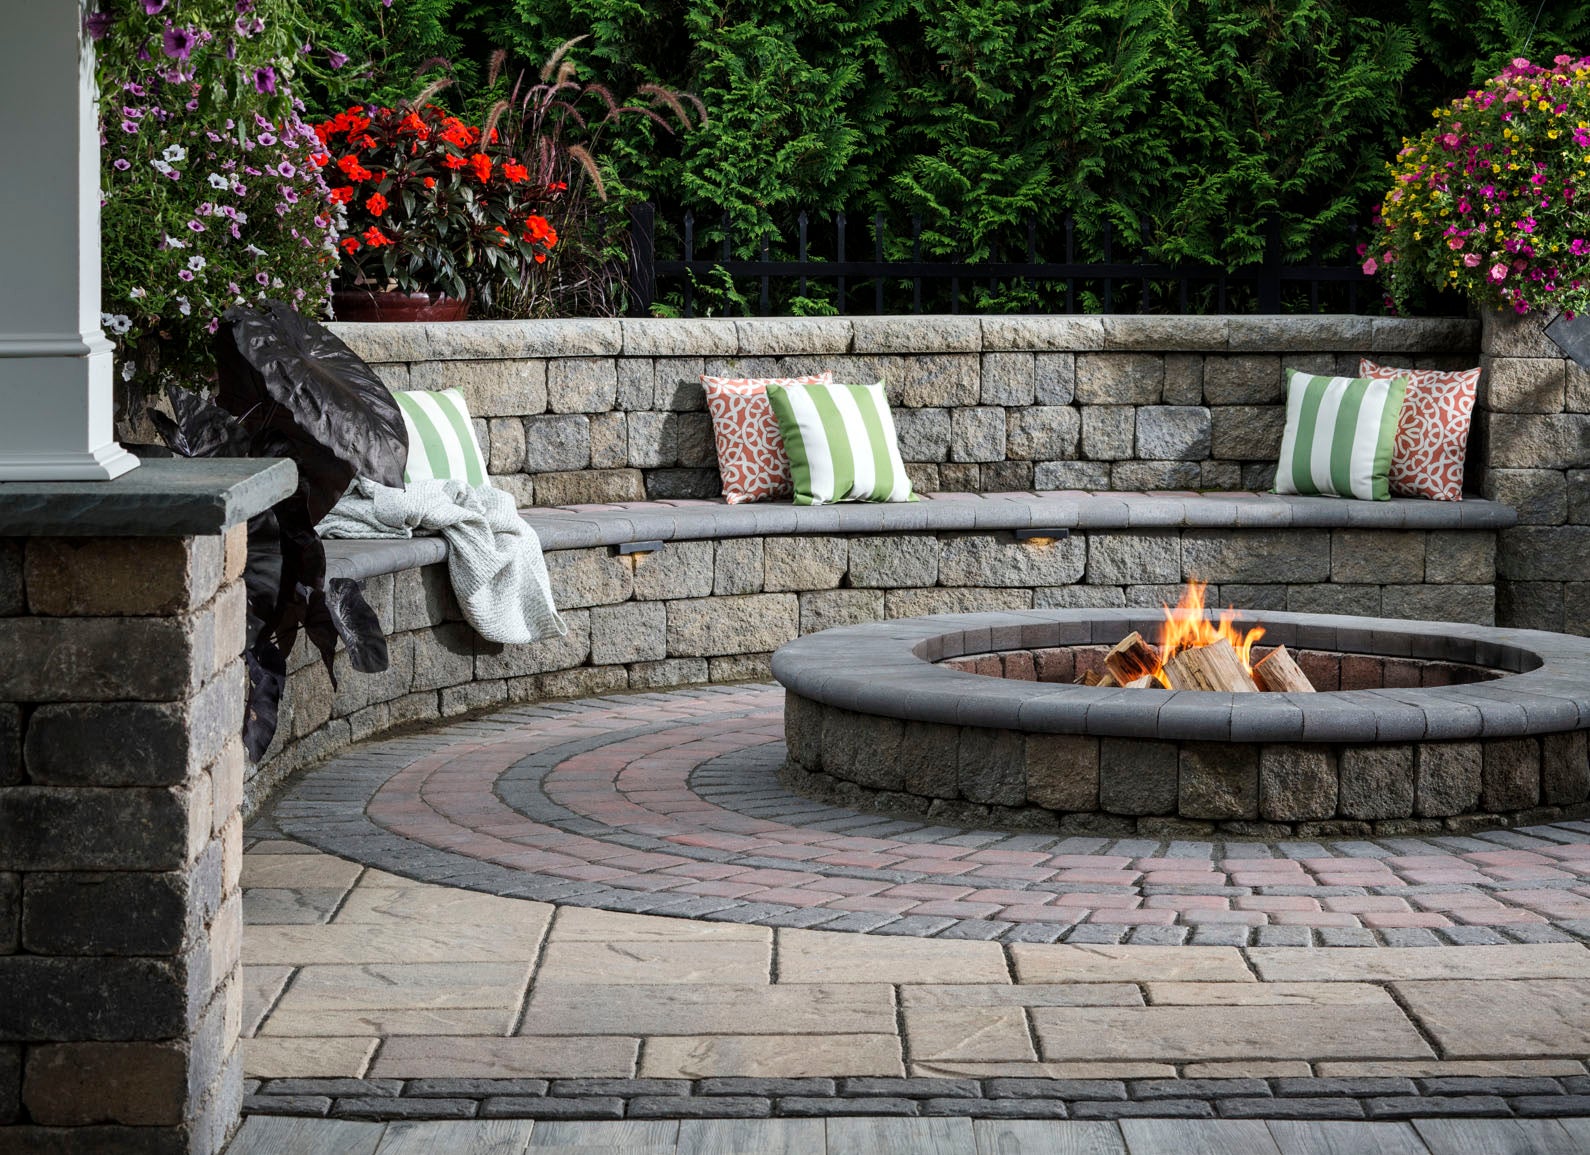

Step 2: Drill Air Vent Holes in the Insert
Mark evenly spaced points around the metal fire pit ring. Drill holes approximately 1–3 inches from the top, leaving about 2 inches between holes.
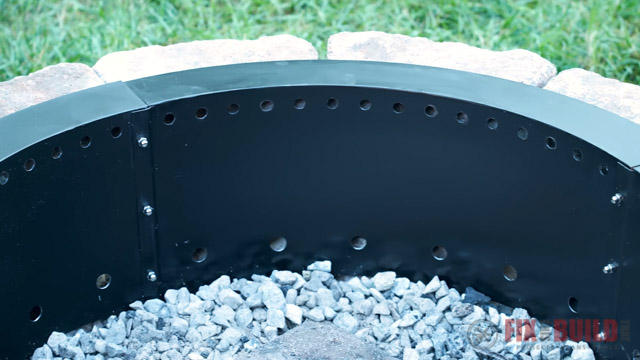
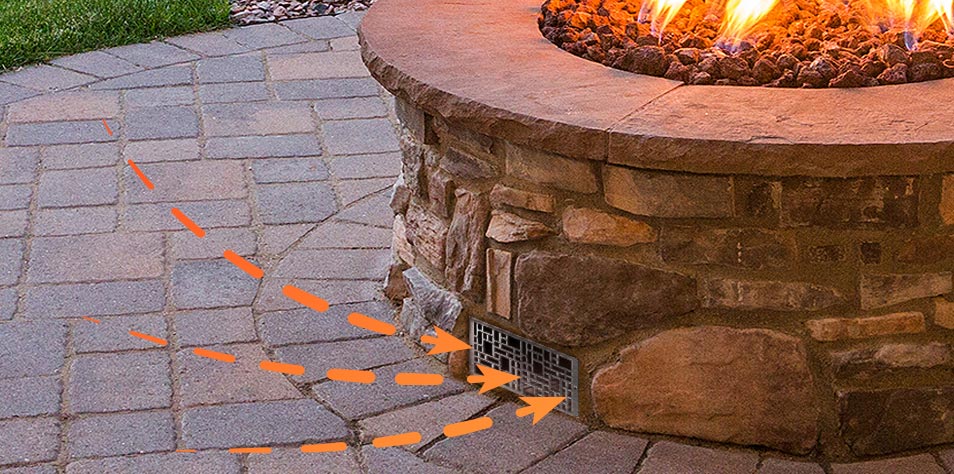
These holes allow heated air and smoke to re-ignite during secondary combustion.
Step 3: Enlarge and Smooth the Holes
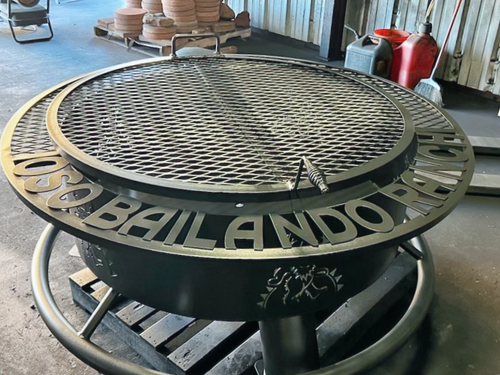
Enlarge holes if needed and file sharp edges to prevent injury and improve airflow.
Step 4: Prepare the Fire Pit Base
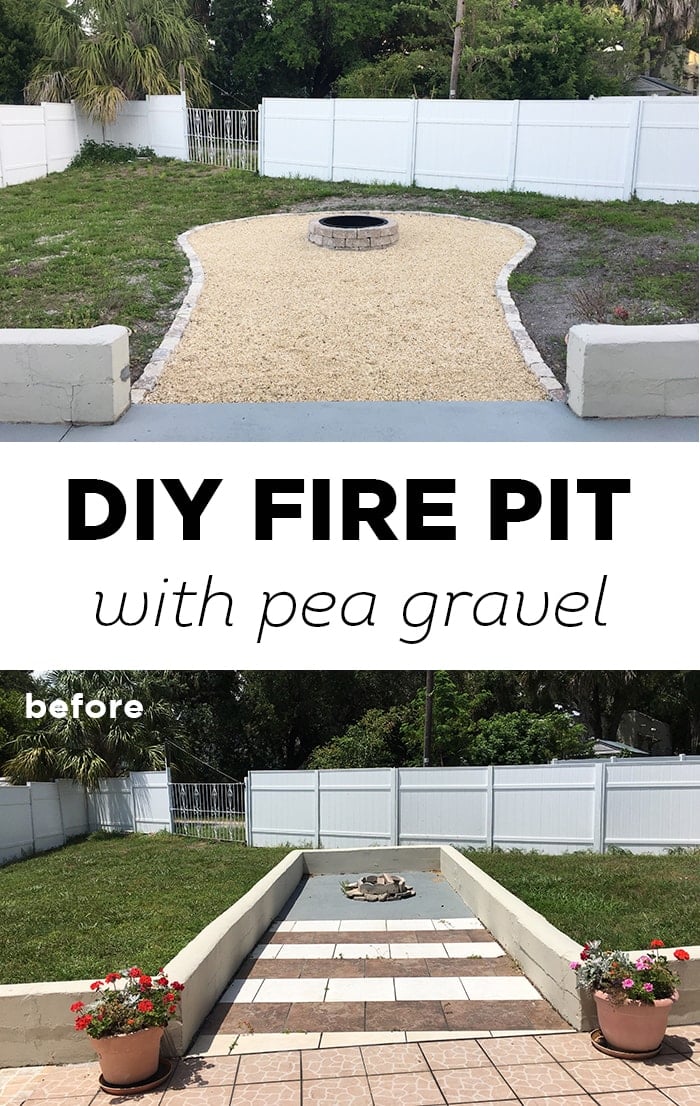
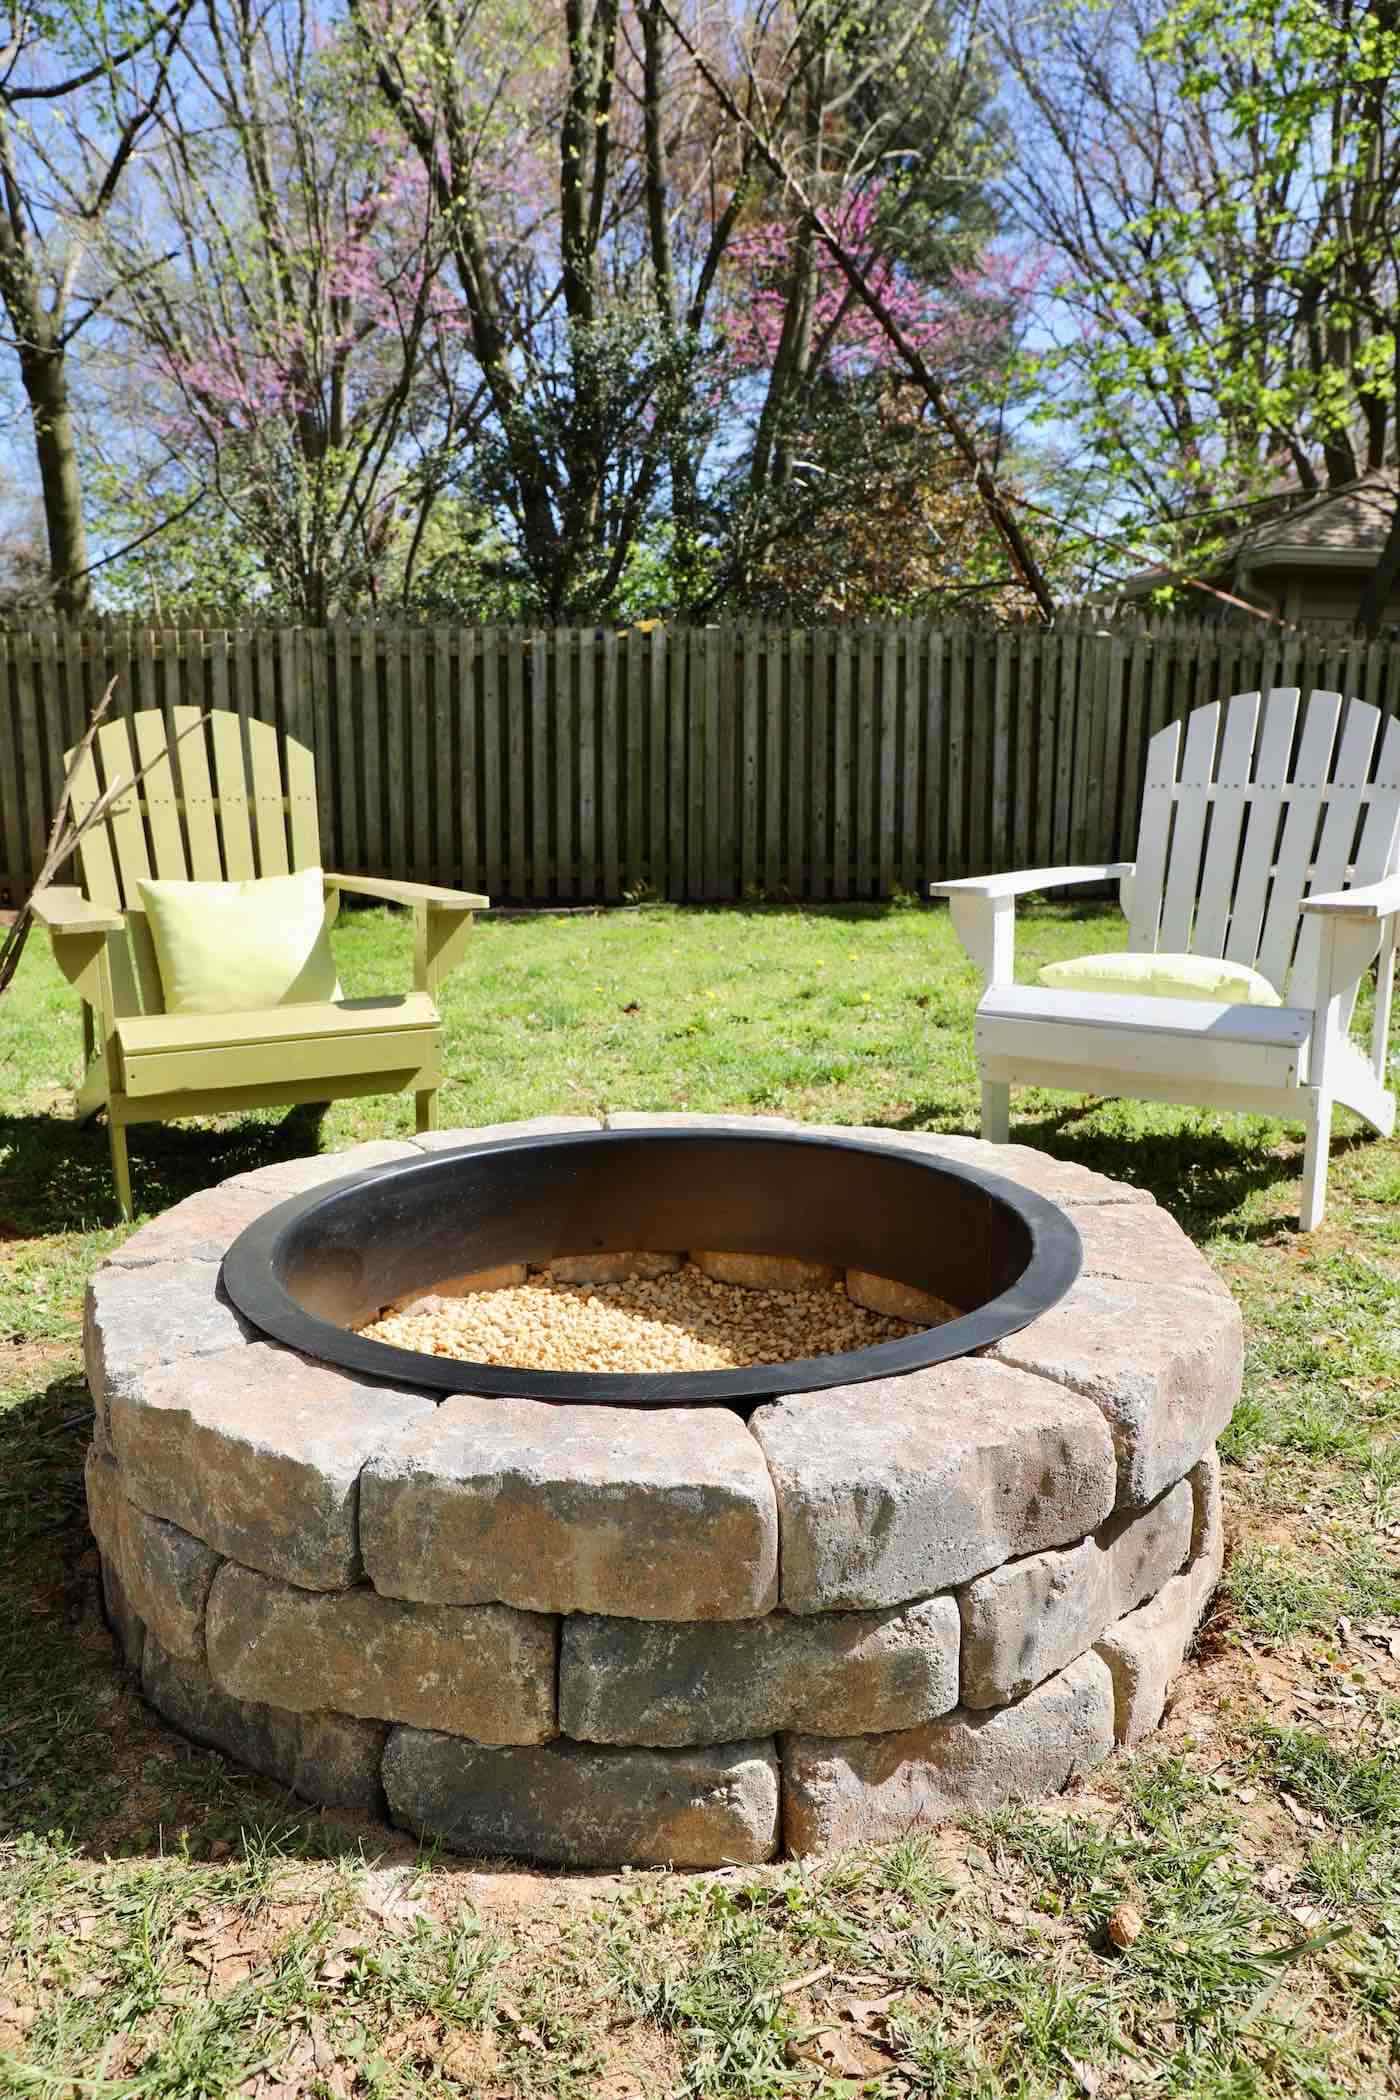
Remove turf and dig a shallow base about 2 inches deep. Add gravel for drainage and level the surface carefully.
Step 5: Establish the First Paver Tier
Place the metal insert at the center and build the first ring of pavers around it, leaving a 2-inch gap between the insert and blocks.
Remove several blocks at the base on one side to allow fresh air intake.
Step 6: Build Additional Paver Layers
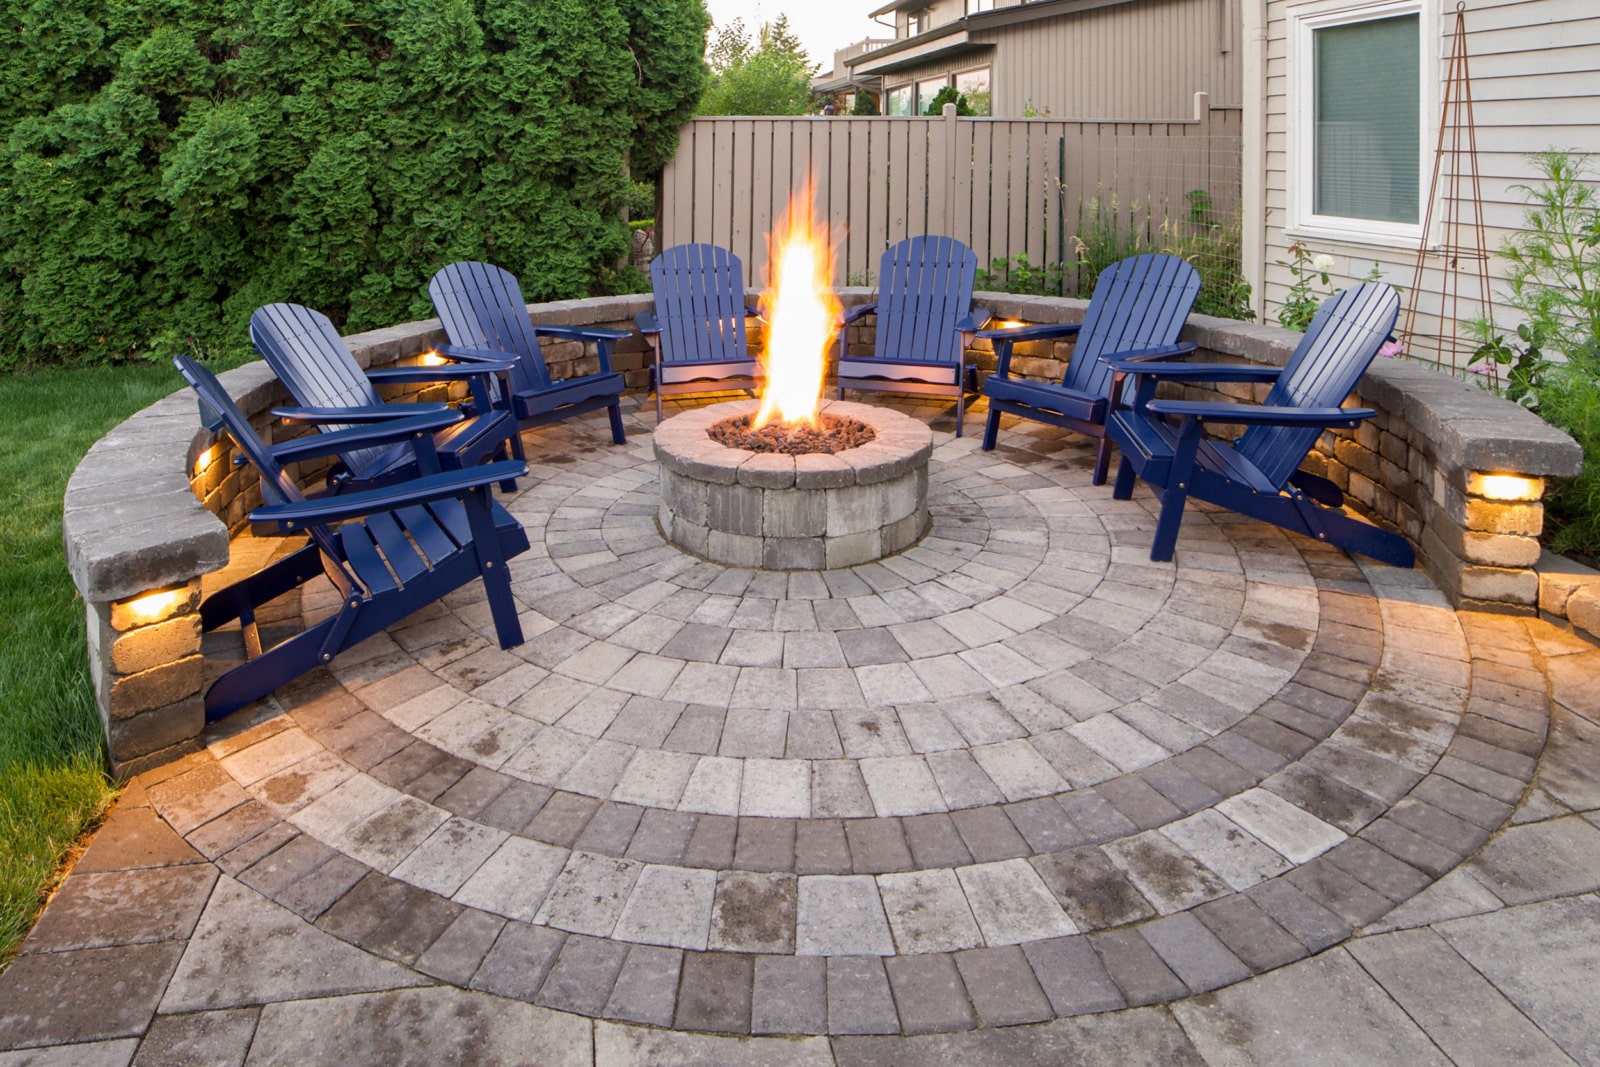
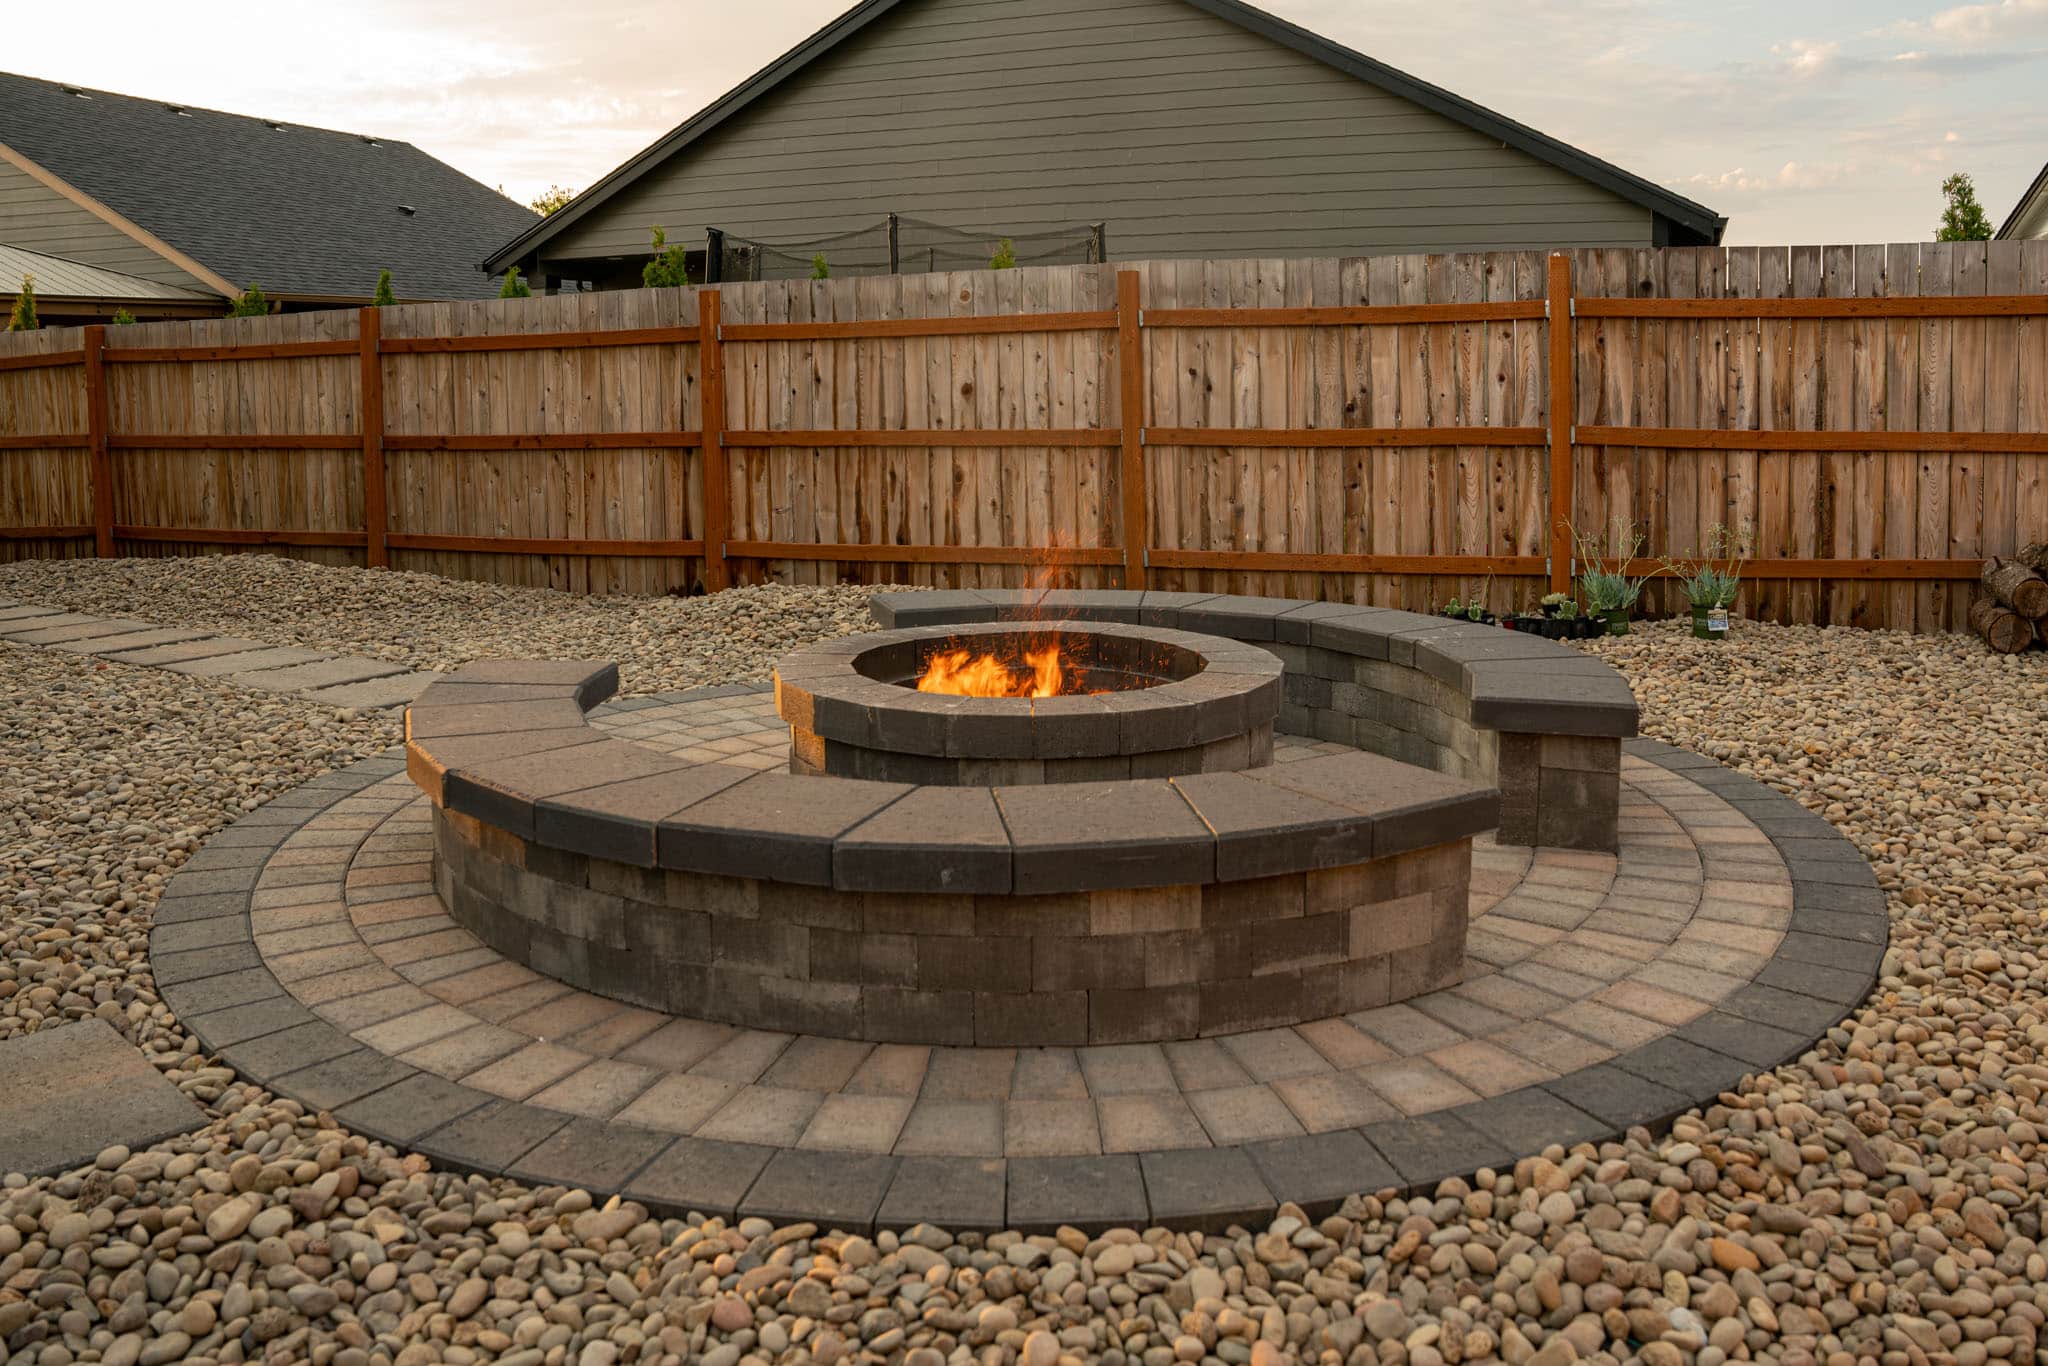
Stack additional paver tiers, staggering joints for stability. Use masonry adhesive between layers.

Step 7: Seal and Paint (Optional)
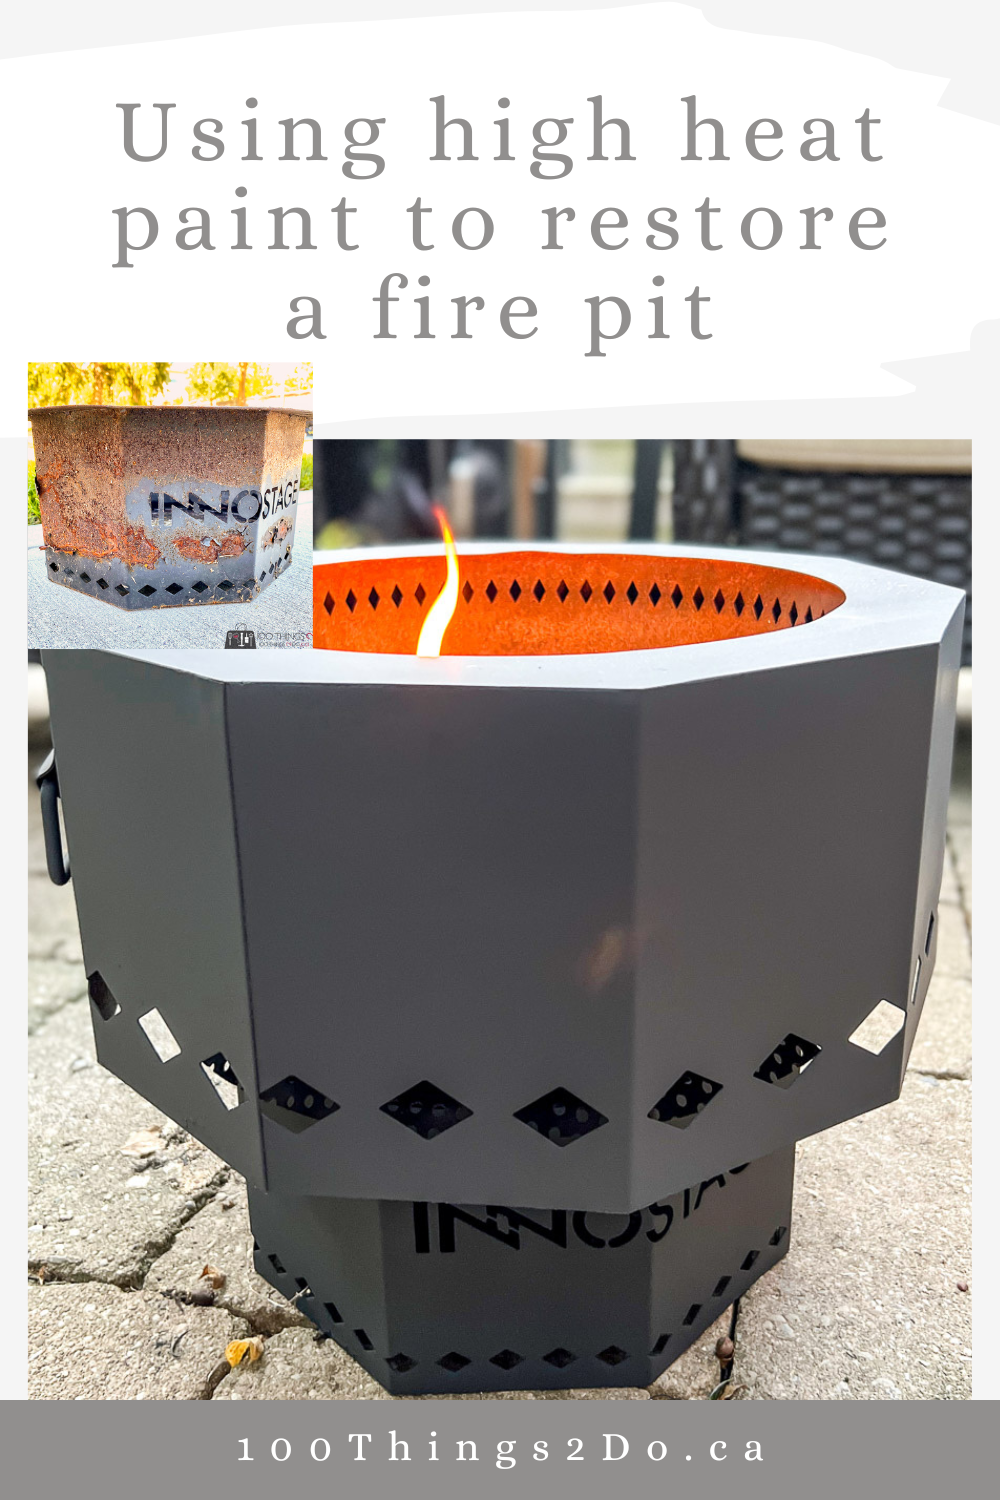
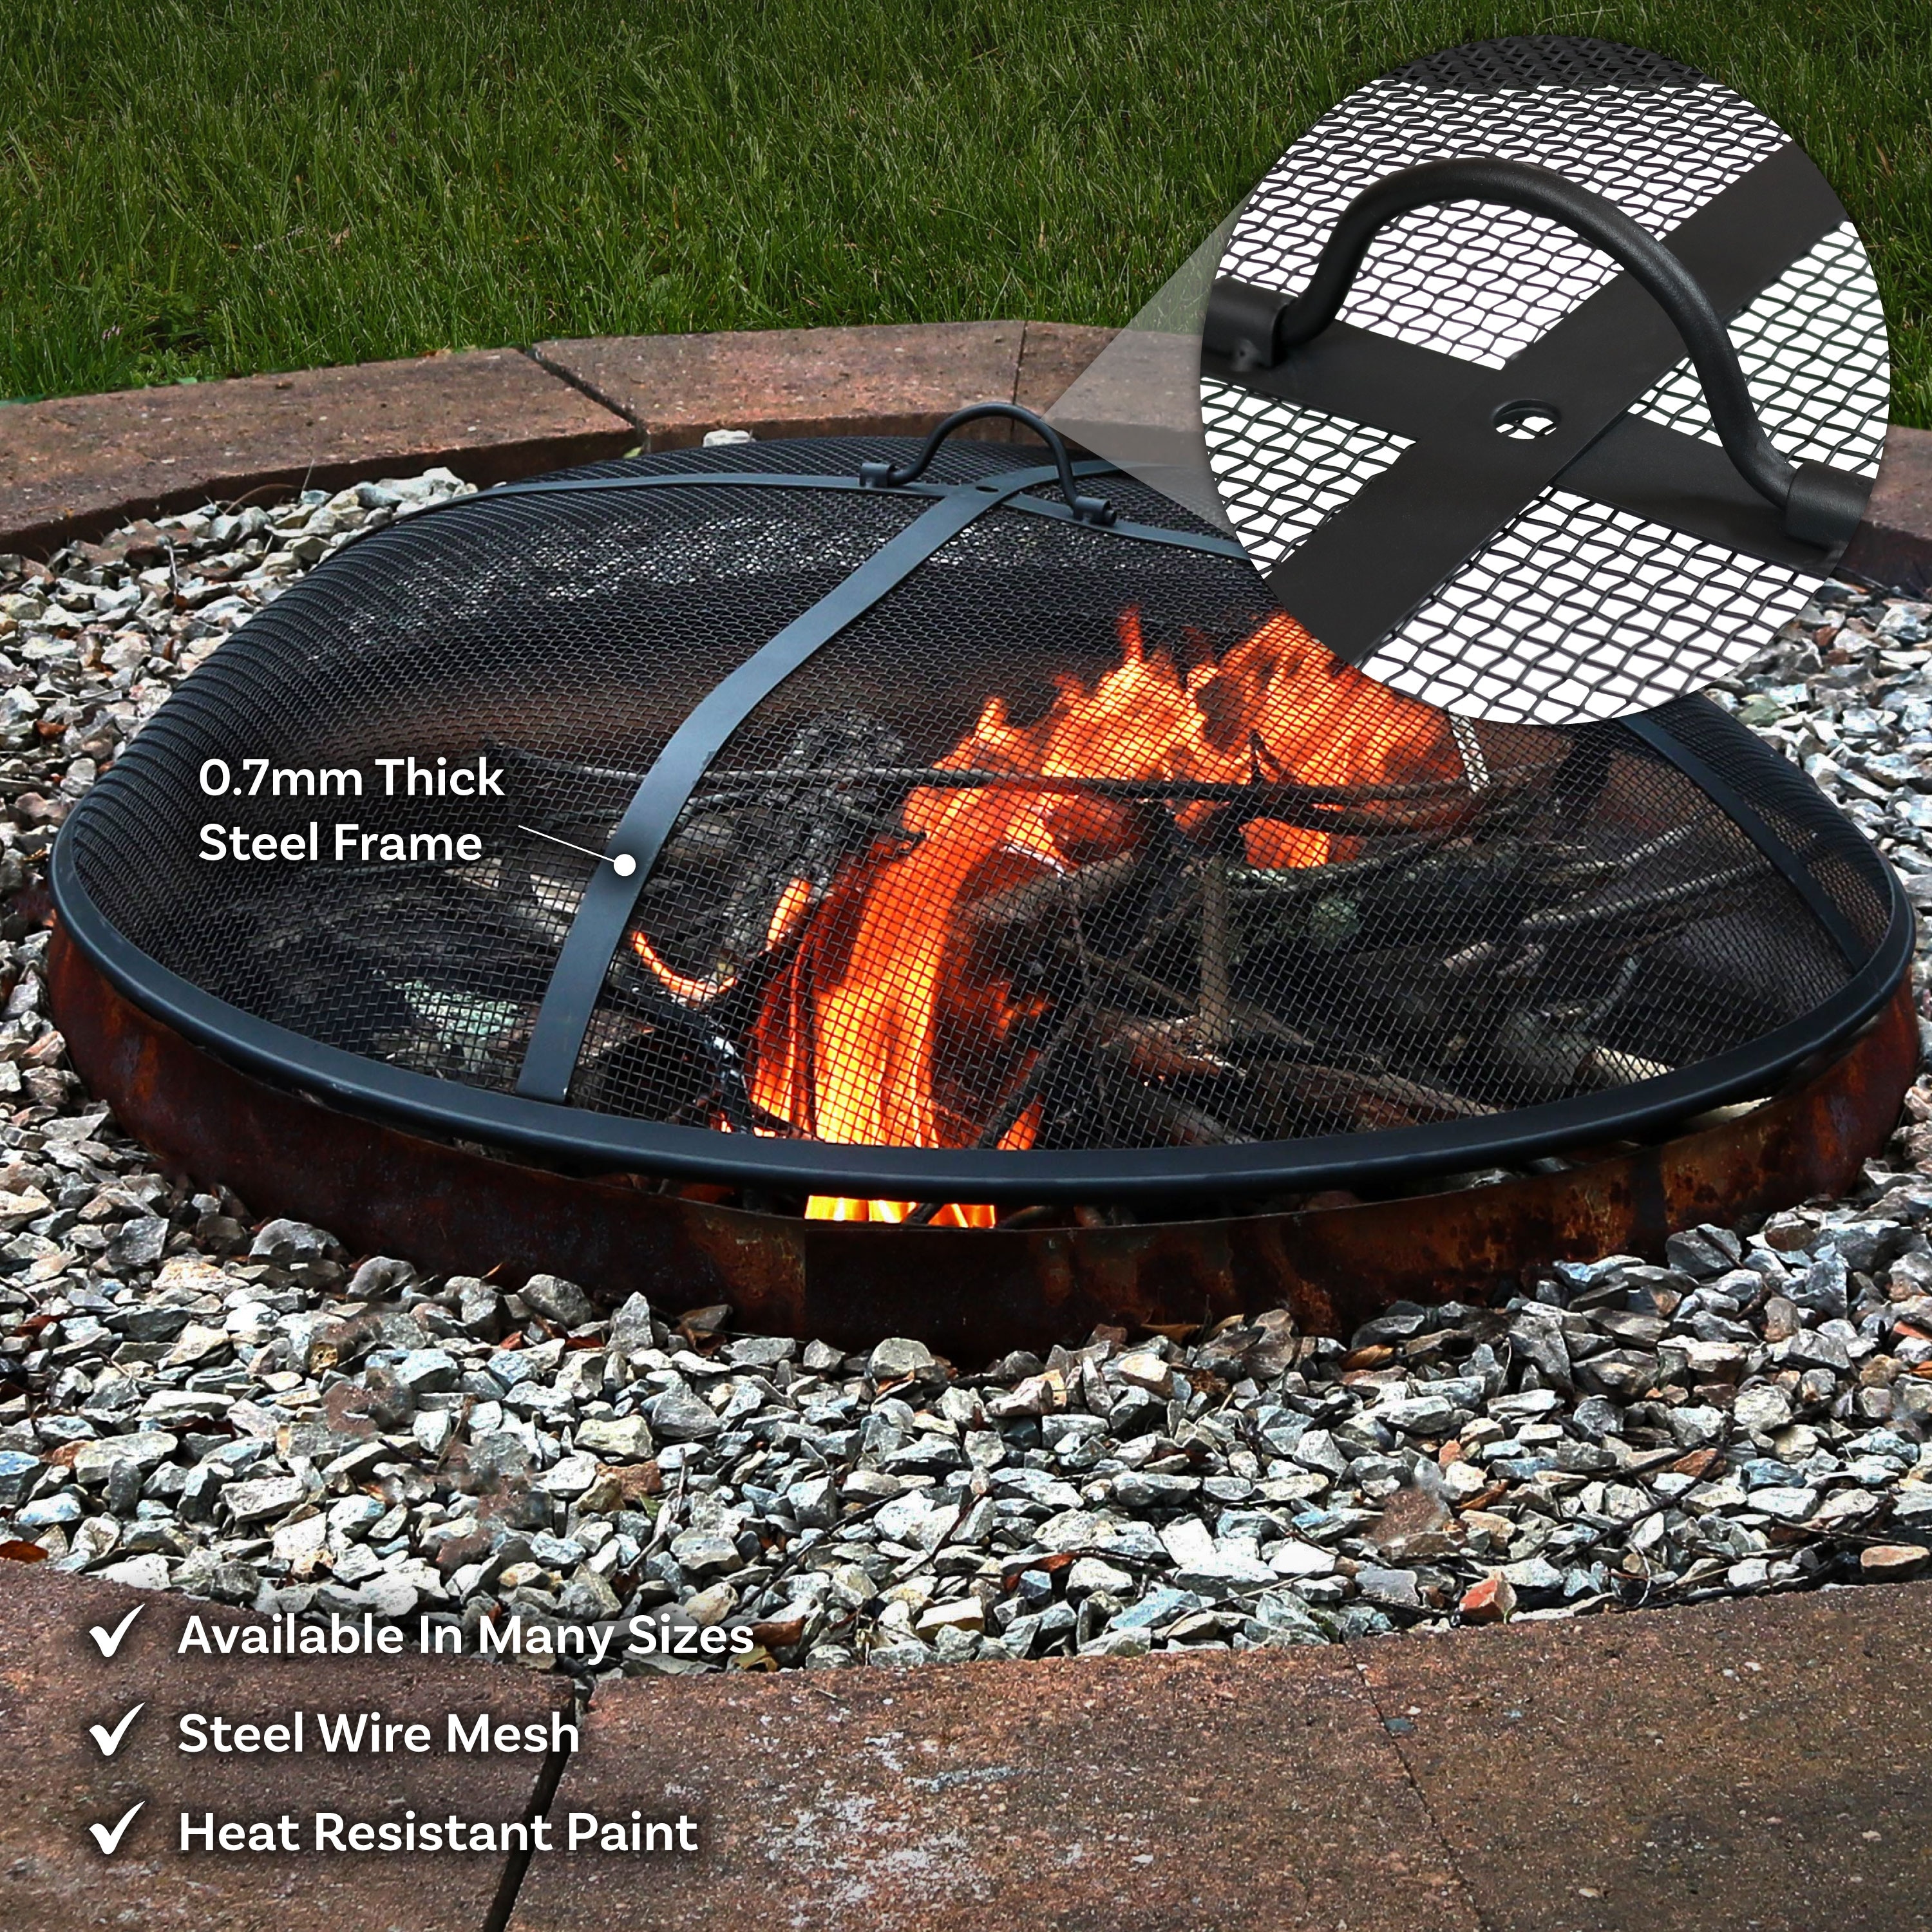
Apply fire-resistant sealant if your design requires it. Finish with high-heat paint on the metal insert to protect it from corrosion.
Step 8: Add Seating Area
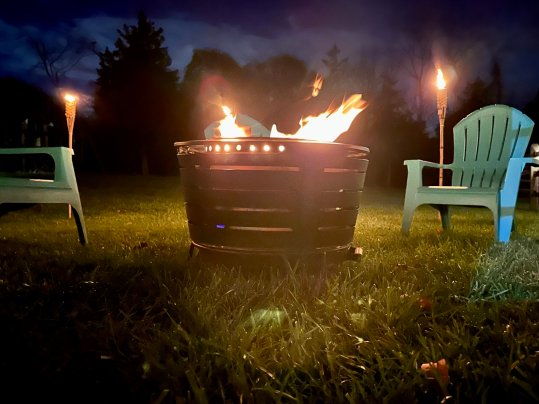
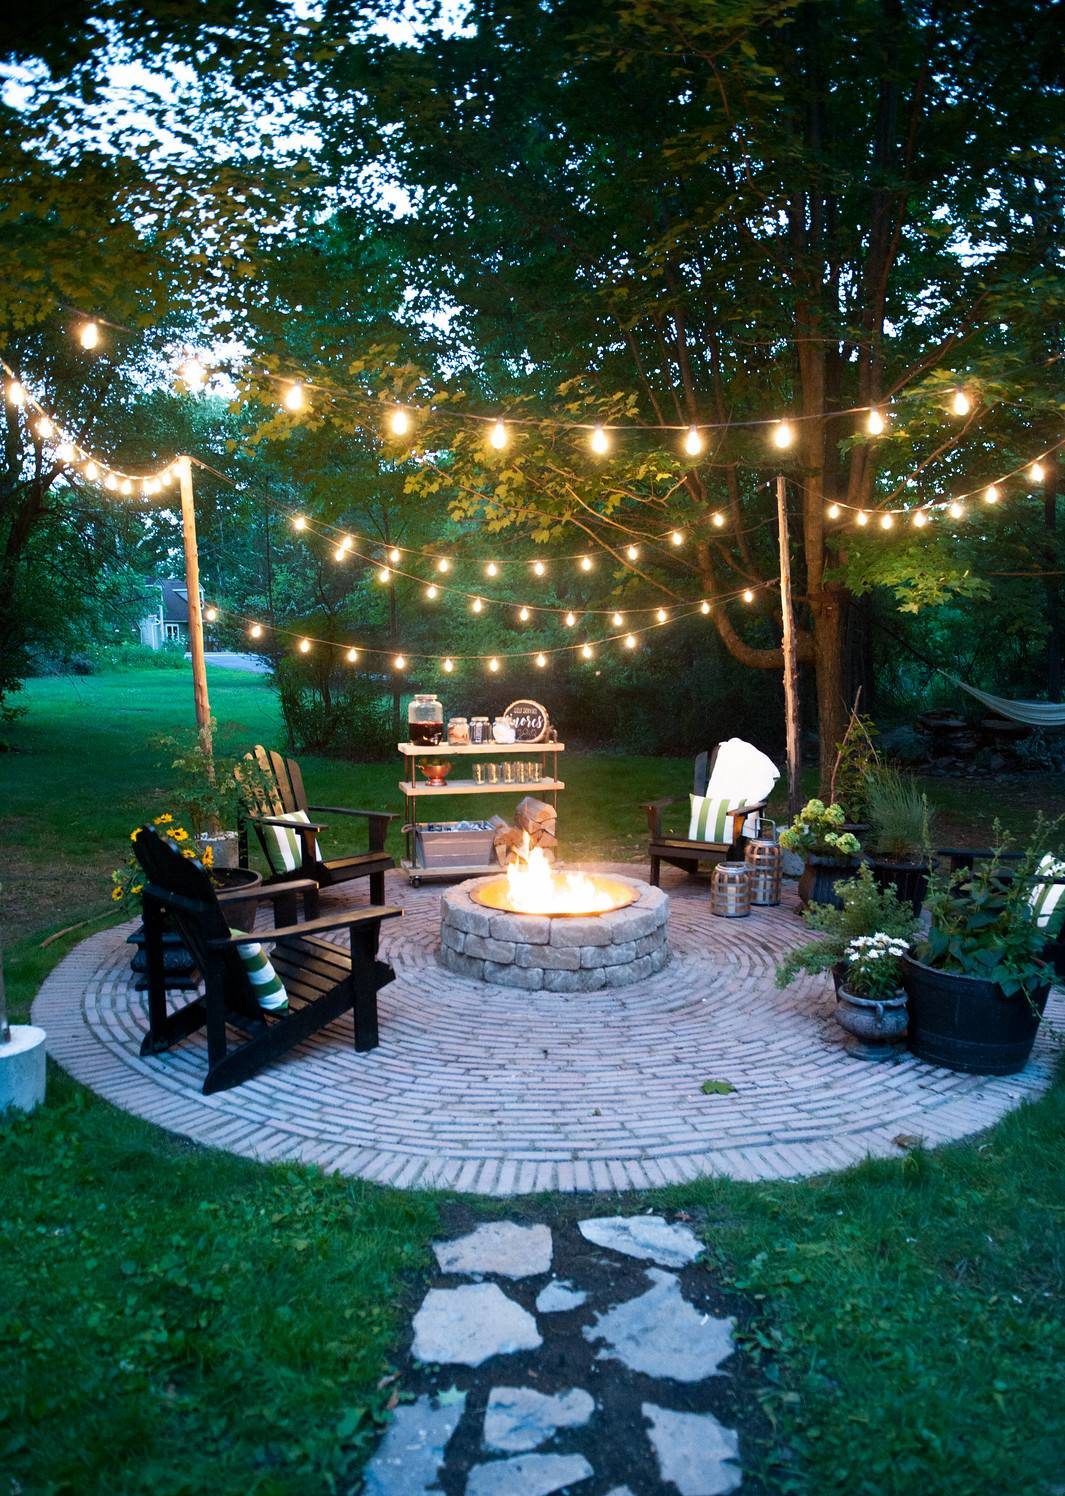
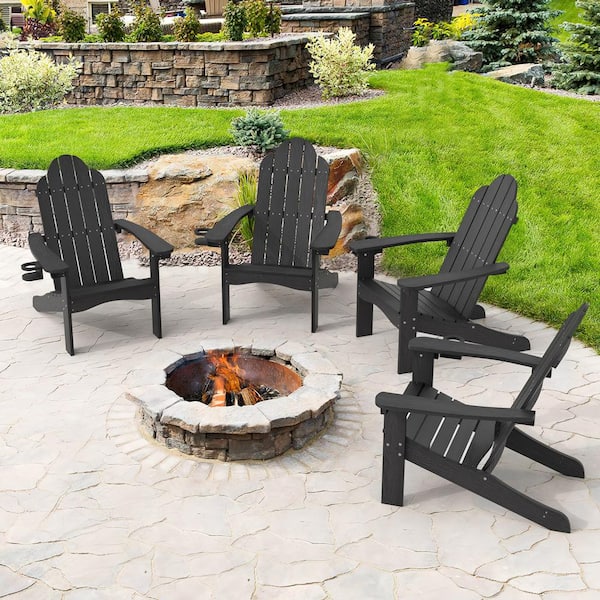
Arrange outdoor chairs or benches at least 7 feet away from the fire pit to ensure safety and comfort.
Step 9: Test the Fire Pit
Start with dry wood and maintain a hot fire for at least 30 minutes. Proper combustion occurs between 550°F and 700°F.


You should notice smoke reduction as secondary flames ignite near the air holes.
How a Smokeless Fire Pit Works
Smokeless fire pits use double-wall construction and controlled airflow to burn smoke before it escapes.
- Cool air enters from the bottom
- Heated air rises between walls
- Smoke gases re-ignite at the top
- Cleaner flame, minimal smoke
This design works with wood, logs, pellets, or charcoal depending on the insert.
Tips to Reduce Smoke Even Further
- Use dry, seasoned wood only
- Remove ash after each use
- Avoid overloading the pit
- Keep wood below secondary burn holes
- Stir the fire occasionally for airflow
Safety Guidelines
- Never place a fire pit under trees or overhangs
- Keep a fire extinguisher nearby
- Avoid slopes or uneven ground
- Allow the pit to cool completely before cleaning
Frequently Asked Questions
Do smokeless fire pits burn wood faster?
Yes. They burn wood more efficiently, producing more heat with less fuel.
Do smokeless fire pits still give off heat?
Absolutely. They provide excellent radiant heat for cooking and warmth.
Are smokeless fire pits safer than traditional ones?
They are generally safer due to reduced smoke and controlled combustion when used properly.
What should go at the bottom of a DIY fire pit?
Sand or gravel works best to protect the base and manage heat.
Final Thoughts
Building your own DIY smokeless fire pit is a rewarding project that enhances outdoor living while reducing smoke and improving efficiency. With the right materials, airflow design, and safety practices, you can enjoy clean fires for years to come.
For those who prefer ready-made solutions, Vevor.Company also offers professionally engineered smokeless fire pits built for durability, safety, and performance—often at a cost lower than DIY builds.
Whether you build or buy, a smokeless fire pit turns any backyard into a welcoming gathering space.